![](https://www.sealxpert.com/wp-content/uploads/2020/04/3456-FA-SealXpert-Logo-NEW.png)
FIBERGLASS REPAIR TAPE
WRAP SEAL PLUS FIBERGLASS REPAIR TAPE
FEATURES:
- Remediate, repairs and reinforces
- Durable, strong and permanent
- Restore pipes to original strength
APPLICATION:
- Applied onto thinning pipe walls for pipeline reinforcement
- Improve hoop strength of pipeline after repair
- Suitable for pipe diameter up to 60″ (1524 mm)
- Applicable for pipeline temperature up to 280 °C (536 °F)
TECHNICAL DATA:
Tensile modulus | : | 3.8 x 10⁶ psi (267166 kg/cm2) |
Tensile strength | : | 65000 psi (4570 kg/cm2) |
Flexural modulus | : | 3.6 x 10⁶ psi (253105 kg/cm2) |
Flexural strength | : | 53100 psi (3733 kg/cm2) |
Compressive strength | : | 28500 psi (2004 kg/cm2) |
Dielectric strength | : | 20000 Volts |
Hardness | : | 85 Shore D |
WRAP SEAL PLUS CORROSION REPAIR PROCEDURE:
1![Procedure 1 - Fiberglass Repair Tape Procedure 1 - Fiberglass Repair Tape](https://www.sealxpert.com/wp-content/uploads/2015/06/Procedure-1.jpg)
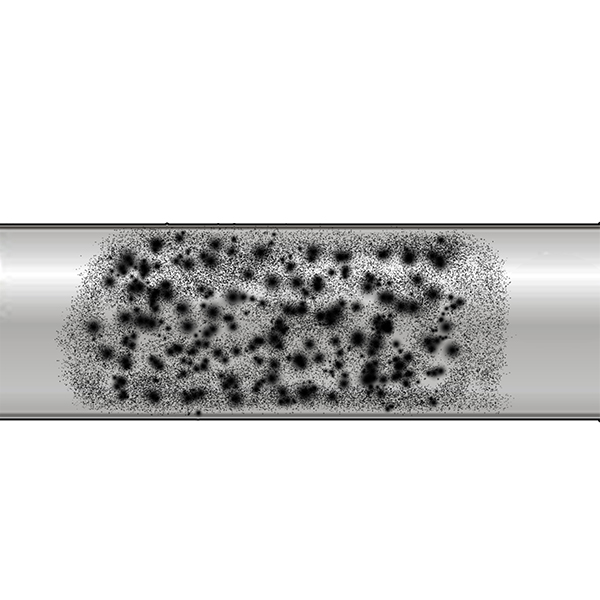
Corroded pipe surface
![Procedure 1 - Fiberglass Repair Tape Procedure 1 - Fiberglass Repair Tape](https://www.sealxpert.com/wp-content/uploads/2015/06/Procedure-1.jpg)
Corroded pipe surface
2![procedure 002 - Fiberglass Repair Tape procedure 002 - Fiberglass Repair Tape](https://www.sealxpert.com/wp-content/uploads/2015/06/procedure-002.jpg)
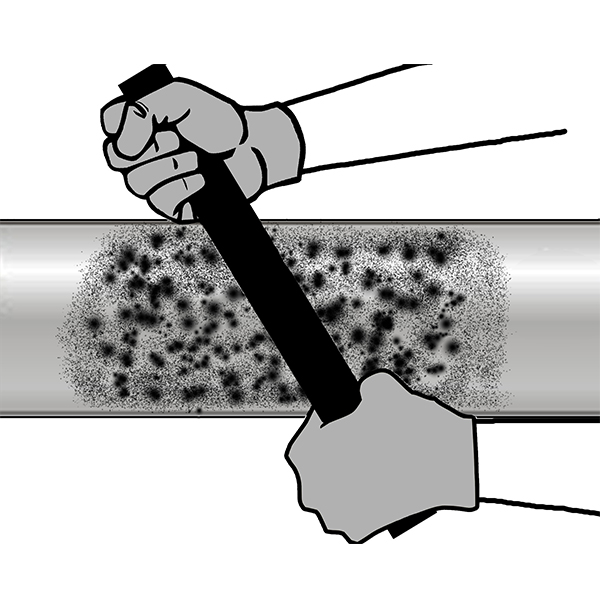
Roughen the area to be repaired
![procedure 002 - Fiberglass Repair Tape procedure 002 - Fiberglass Repair Tape](https://www.sealxpert.com/wp-content/uploads/2015/06/procedure-002.jpg)
Roughen the area to be repaired
3![Procedure 3 - Fiberglass Repair Tape Procedure 3 - Fiberglass Repair Tape](https://www.sealxpert.com/wp-content/uploads/2015/06/Procedure-3.jpg)
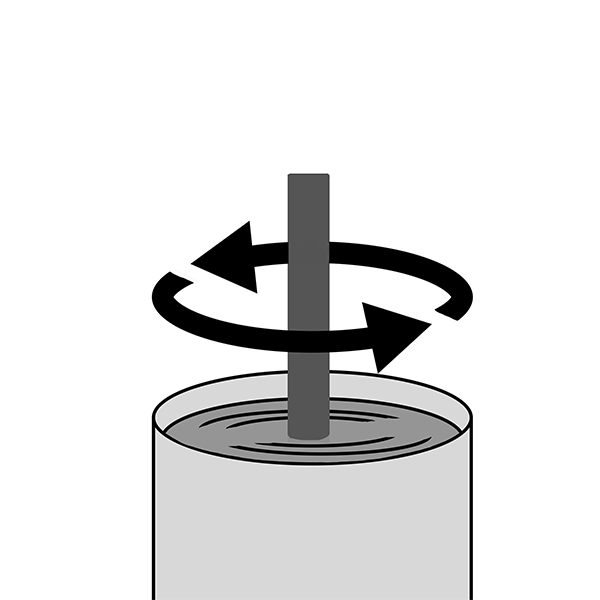
Mix and stir Wrap Seal PLUS Resin and Activator for at least 1 minute until well mixed
![Procedure 3 - Fiberglass Repair Tape Procedure 3 - Fiberglass Repair Tape](https://www.sealxpert.com/wp-content/uploads/2015/06/Procedure-3.jpg)
Mix and stir Wrap Seal PLUS Resin and Activator for at least 1 minute until well mixed
4![procedure 004 - Fiberglass Repair Tape procedure 004 - Fiberglass Repair Tape](https://www.sealxpert.com/wp-content/uploads/2015/06/procedure-004.jpg)
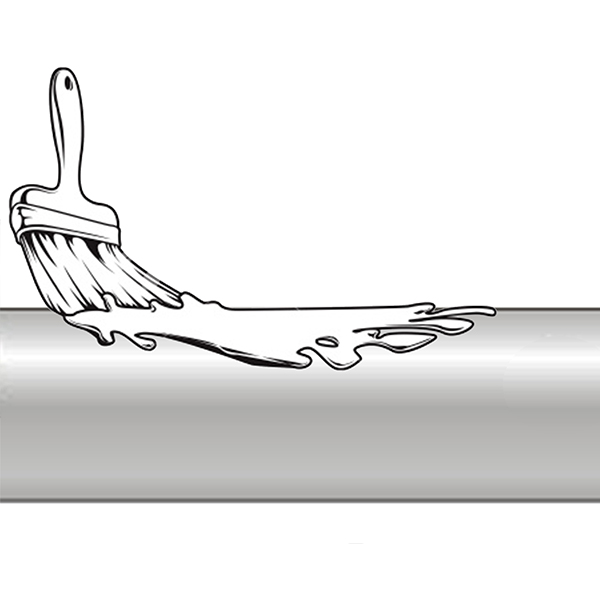
Apply two coats of activated resin evenly over the area to be repaired and allow to cure
![procedure 004 - Fiberglass Repair Tape procedure 004 - Fiberglass Repair Tape](https://www.sealxpert.com/wp-content/uploads/2015/06/procedure-004.jpg)
Apply two coats of activated resin evenly over the area to be repaired and allow to cure
5a![Procedure 5 - Fiberglass Repair Tape Procedure 5 - Fiberglass Repair Tape](https://www.sealxpert.com/wp-content/uploads/2015/06/Procedure-5.jpg)
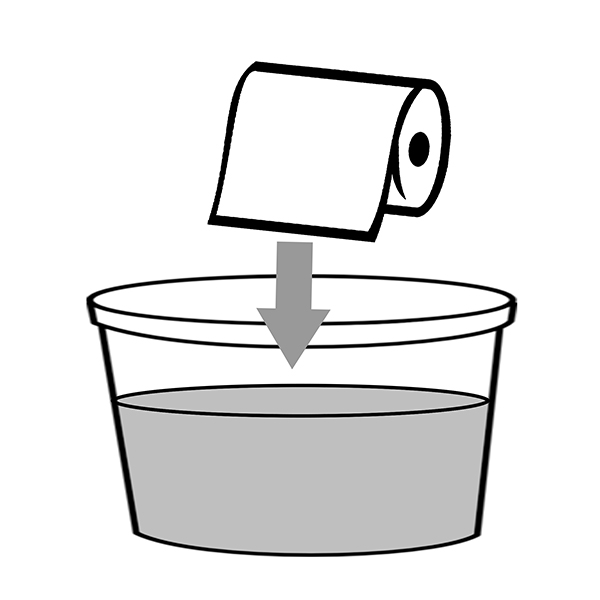
Immerse Wrap Seal PLUS Fiberglass Repair Tape into water
![Procedure 5 - Fiberglass Repair Tape Procedure 5 - Fiberglass Repair Tape](https://www.sealxpert.com/wp-content/uploads/2015/06/Procedure-5.jpg)
Immerse Wrap Seal PLUS Fiberglass Repair Tape into water
6a![Procedure 6 - Fiberglass Repair Tape Procedure 6 - Fiberglass Repair Tape](https://www.sealxpert.com/wp-content/uploads/2015/06/Procedure-6.jpg)
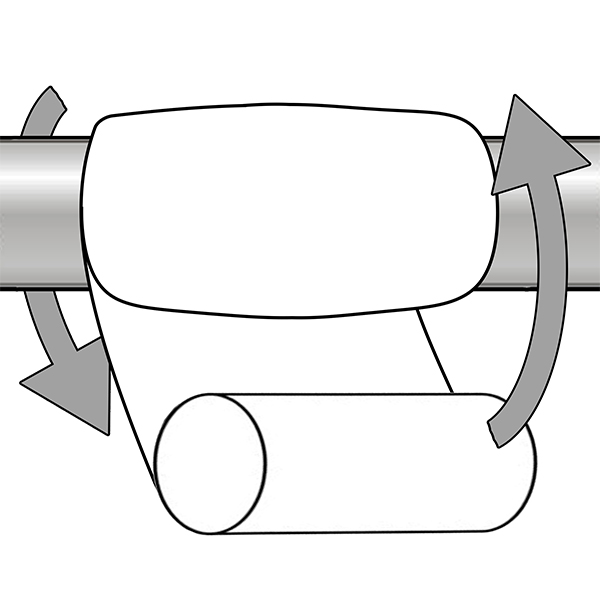
Wrap the fiberglass repair tape as tightly and evenly as possible, with at least 50% overlap over affected pipe length
![Procedure 6 - Fiberglass Repair Tape Procedure 6 - Fiberglass Repair Tape](https://www.sealxpert.com/wp-content/uploads/2015/06/Procedure-6.jpg)
Wrap the fiberglass repair tape as tightly and evenly as possible, with at least 50% overlap over affected pipe length
7a![Procedure 7 - Fiberglass Repair Tape Procedure 7 - Fiberglass Repair Tape](https://www.sealxpert.com/wp-content/uploads/2015/06/Procedure-7.jpg)
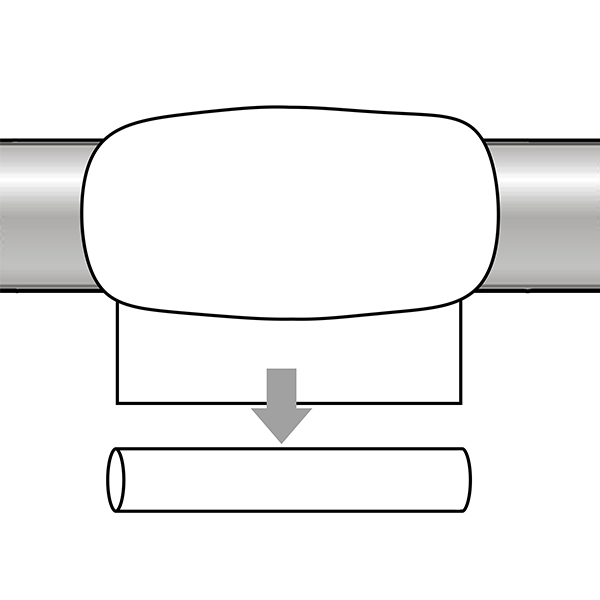
Discard the plastic tube at the end of the roll
![Procedure 7 - Fiberglass Repair Tape Procedure 7 - Fiberglass Repair Tape](https://www.sealxpert.com/wp-content/uploads/2015/06/Procedure-7.jpg)
Discard the plastic tube at the end of the roll
8a![Procedure 81 - Fiberglass Repair Tape Procedure 81 - Fiberglass Repair Tape](https://www.sealxpert.com/wp-content/uploads/2015/06/Procedure-81.jpg)
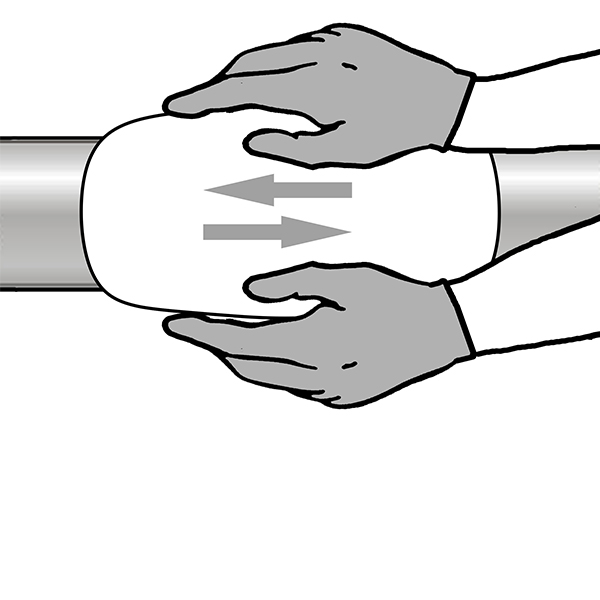
Wet gloves in water and quickly compress the bubbling resins back into the fiberglass wrap until all bubbling has stopped. Repair completed with smooth and hard ivory appearance
![Procedure 81 - Fiberglass Repair Tape Procedure 81 - Fiberglass Repair Tape](https://www.sealxpert.com/wp-content/uploads/2015/06/Procedure-81.jpg)
Wet gloves in water and quickly compress the bubbling resins back into the fiberglass wrap until all bubbling has stopped. Repair completed with smooth and hard ivory appearance
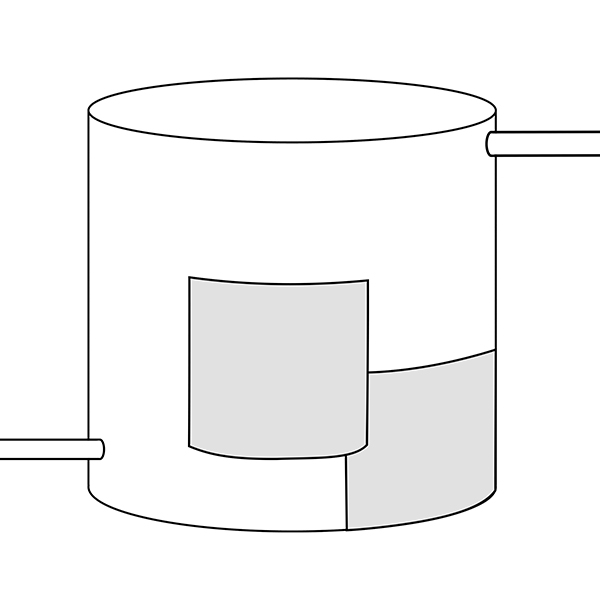
FLAT SURFACE/TANK
![Procedure 9 - Fiberglass Repair Tape Procedure 9 - Fiberglass Repair Tape](https://www.sealxpert.com/wp-content/uploads/2015/06/Procedure-9.jpg)
Apply Several layers of wrap Seal PLUS Surface Tissue or Wrap Seal Plus Chopped
Strand Mat onto the affected area.
![Procedure 9 - Fiberglass Repair Tape Procedure 9 - Fiberglass Repair Tape](https://www.sealxpert.com/wp-content/uploads/2015/06/Procedure-9.jpg)
Apply Several layers of wrap Seal PLUS Surface Tissue or Wrap Seal Plus Chopped
Strand Mat onto the affected area.
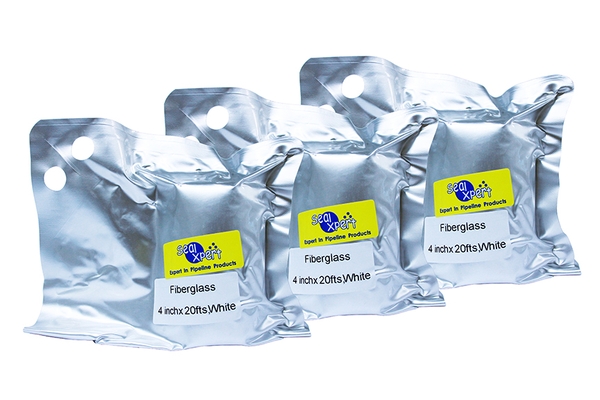
WRAP SEAL PLUS FIBERGLASS REPAIR TAPE
![1762 1762 Fiberglass Repair Tape - Fiberglass Repair Tape 1762 1762 Fiberglass Repair Tape - Fiberglass Repair Tape](https://www.sealxpert.com/wp-content/uploads/sp/1762-1762-Fiberglass-Repair-Tape.jpg)
PACKAGE:
- 2″ x 5′ (50 mm x 1.5 m)
- 2″ x 6′ (50 mm x 1.8 m)
- 2″ x 12′ (50 mm x 3.6 m)
- 3″ x 9′ (75 mm x 2.7 m)
- 4″ x 12′ (100 mm x 3.6 m)
- 4″ x 20′ (100 mm x 6 m)
- 4″ x 30′ (100 mm x 9 m)
- 6″ x 20′ (150 mm x 6 m)
- 6″ x 30′ (150 mm x 9 m)